Add Events to your CalendarTo add events to your calendar, simply click on “Events Calendar” in your Control Panel, then click “New.” Give the event a name and description, then set when it happens, and how often, if applicable. |
|
Step 1. Describe your event in the “Common” tab, add images, and make any links to your products or other sites that will help convince people to come to your event. Common: This is where you describe the event itself. Give it a subject. Use a title that’s descriptive and appealing.
Assign it to a category. Do this first. It won’t let you save the event without a category. Write a description. Use the Text Editor to add detail, and maybe pictures. Set a Location and a contact person. This is optional. The fields are beneath the Text Editor.
|
|
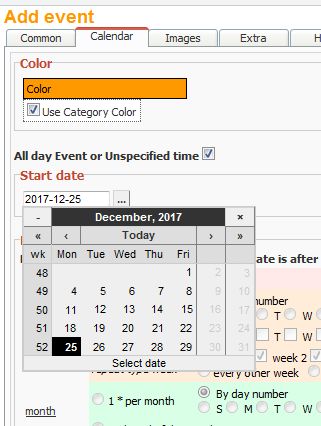
Step 2. Set when the Event happens. Is it one day, or every week? You can set up things that happen once a week, or at the end of each month, or on the second Saturday, etc. It’s a little complicated to look at all the options – just look for what you need to do, rather than what you can do. Click the “…” button next to the date fields to use the calendar to choose dates. |


