Using Shopper Groups
You may want to offer discounts to groups of customers on your website – for example, you may choose to give all local teachers a 10% discount. You can do this through the cart’s “Shopper Groups”.

Tips on managing Shopper Groups
- You, as Site Administrator, manage the assignment of users to Shopper Groups
- You may want to have a signup form on your site to encourage customers to signup for your discount group(s)
- You may also want to have a signup form in your store to encourage customers to signup for your website discount group(s)
Assigning Users to Shopping Groups
-
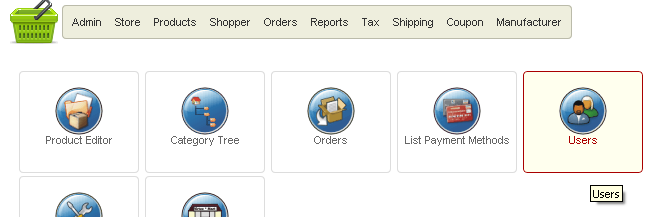
You assign users to a Shopper Group from the Shopping Cart’s User Manager (Not the main site’s User Manager)
-
If you are updating a customer who has already checked out on your website:
- Open the Shopping Cart’s User Manager
- Browse to the customer, then click the customer’s name to edit
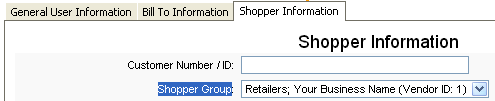
- Under the Shopper Info tab, select the desired Shopper Group
- Save
-
If you are adding a customer who has not created an account on your website:
-
Open the Shopping Cart’s User Manager
- Click New to create a new user
-
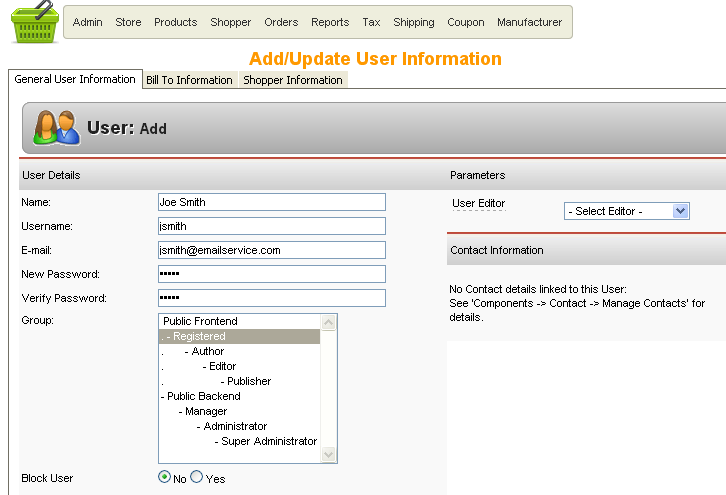
Fill out the User Details
- There are 3 tabs to fill out: General User Info, Bill To Info, & Shopper Info
- Note the username & password you are creating for the user, as you will need to email this to them
-
most common settings: Registered front-end user, no Editor needed.
-
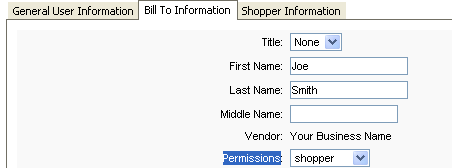
Under the Bill To Info tab, fill out the fields & set the Permissions to “shopper”
-
Under the Shopper Info tab, select the desired Shopper Group

- Save