|
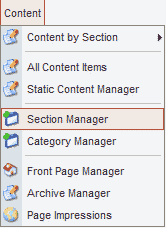
With all the buzz of BLOGs you’ve decide that you want to create one to run on your site. This tutorial will walk you through the process of creating a blog on your STN website. 1. To get started you will need to create a “Section”. You may already have a section created that you want to use or you may want to create a new section to hold multiple BLOGS. To create a “Section” from the back-end go to “Content >> Section Manager“ |
|
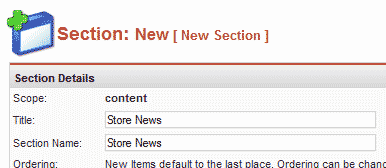
2. Next we are going to create a new “Section” and give it a name of “Store News”. You can name this section anything you like but for this demonstration I’m using “Store News”.
|
|
3. Save
|
|
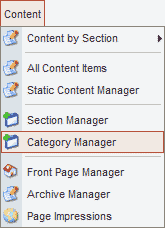
4. Next we’re going to create a new “Category” and assign it to the “Store News” section.
|
|
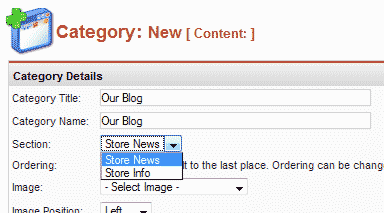
5. You can name the category what ever name you would like but for this demonstration I’m going to name this category “Our Blog” and assign it to the section “Store News”.
|
|
6. Save
|
|
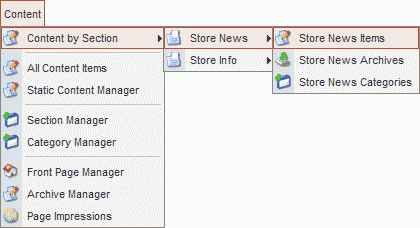
7. Now that we have a Section and Category set up lets create our first Blog posting. Go to “Content >> Store News >> Store News Items“
|
|
8. Select New
|
|
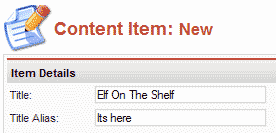
9. Give your post a name and alias.
|
|
10. Assign it to the appropriate category, in our case “Our Blog”.
|
|
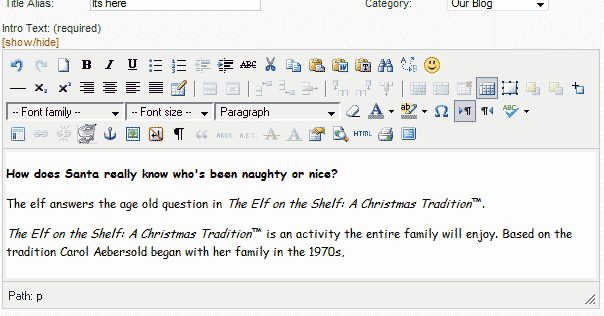
11. Input your content. You will notice that there are 2 editing windows to create your content in. If you have a long post and want to create a teaser with a “Read More…” link to the rest of the post you would enter the first part of the post in the first editing window and the rest of it in the second editing window. If you want to display the whole post then you would enter it all in the first editing window. I’m going to demonstrate the splitting of the post. In the first window I put the portion of the blog I want the reader to see in the daily blog view.
|
|
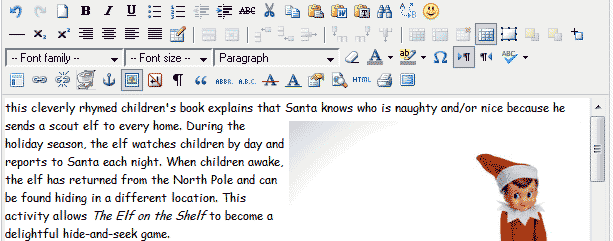
In the second window I’m going to put the rest of the posting which also includes an image.
|
|
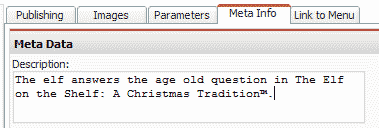
12. Be sure to take the time to create a Meta description for your blog posting. This is optional but helps feed the search engines.
|
|
13. Save
|
|
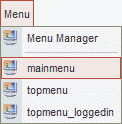
14. With our first posting created we can now create the Menu item that will link to the blog and also define the layout of the display. Go to “Menu >> Main Menu“. You may want to add it to a different menu on your site if you have multiple menus. Keep in mind that creating too many menu items in the root of the menu can push your menu out and cause your site to expand and breaks its structure.
|
|
15. Select New.
|
|
16. Now we need to select the type of menu item we want to create. In our case we are creating a “Blog – Content Category“.
|
|
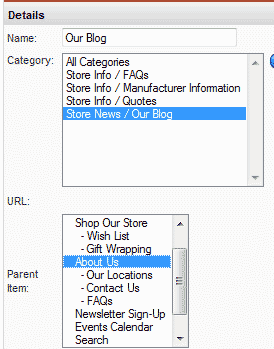
17. I’m going to name this menu link “Our Blog” and select “Store News / Our Blog” for the category. I’m also going to select “About Us” to be the parent in the menu which will make this menu item a drop down.
|
|
18. Next we’re going to set the parameters for the display of the Blog. There are many options that you can set here. I am going to recommend settings that will display your Blog in a standard Blog way but don’t be afraid to try experimenting with these parameters to meet your needs.
|
|
19. Select Save.
|
|
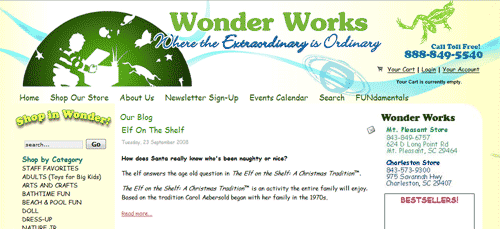
20. Now if you go to the front end of the site and select the “Our Blog” menu item you will see the blog displayed with the “Read more…” link to view the complete post.
|
|
21. Right now there is only one item in the blog to add a new post go to “Content >> Store News >> Store News Items“and create a new one. With my patameter settings it will add the new post to the top of the blog (newest first).
|
|
The End. |

