How to assign your own custom category icons (the thumbnail images your shoppers see for each category). Choose a new “Thumbnail” image for the category, and save the category.
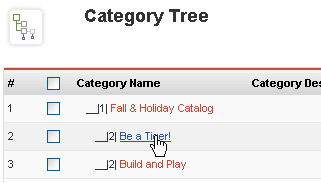
Log into the backend of your site, click Shopping Cart > Category Tree
Step 1. Click the name of the Category or Subcategory you wish to edit.
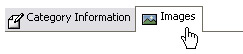
Step 2. When the category opens, Click the Images tab
Step 3. Upload a new THUMB NAIL –
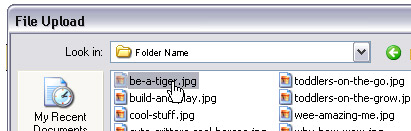
Click the Browse button under Thumb Nail (NOT the button under Full Image!), and navigate to the folder on your computer where your image file(s) is located, then select that file. (note: STN category images are by default sized at 101 x 68 pixels)
1. Click “Browse”

2. Find the image on your computer
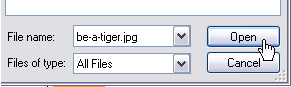
3. Click the Open button
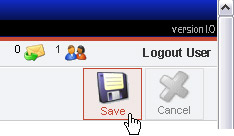
Step 4. Save. In the upper-right of the Control Panel, Click the Save button.
That’s it! You’ve just assigned a custom icon for your store category.
To make Category Icons using FrameEZ:
Go to the help section about FrameEZ section, and click the subcategory “Making Category Icons with FrameEZ,” or click this link.