How to create a new Category
Step 1. In your site’s Admin back end, go to “Shopping Cart” and click “Category Tree”
Step 2. In the upper right row of icons, click “New”

Step 3. Type in the Category Name (required)

Step 4. Desktop and Mobile Category Description (optional). note: Google loves category descriptions! You can provide 2 different descriptions if you like, or you can use the same description for both Desktop and Mobile. Using 2 different descriptions allows you to design them differently.

Step 5. Category META description field (otional) should be populated and gives you the ability to define the message that is presented to shoppers in their search results on search engines like Google, Yahoo and Bing. Meta descriptions are HTML attributes that provide concise explanations of the contents of web pages. Meta descriptions are commonly used on search engine result pages (SERPs) to display preview snippets for a given page.

Meta description tags, while not important to search engine rankings, are extremely important in gaining user click-through from SERPs. These short paragraphs are a webmaster’s opportunity to advertise content to searchers and to let them know exactly whether the given page contains the information they’re looking for.
The meta description should employ the keywords intelligently, but also create a compelling description that a searcher will want to click. Direct relevance to the page and uniqueness between each page’s meta description is key. The description should optimally be between 150-160 characters.

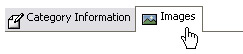
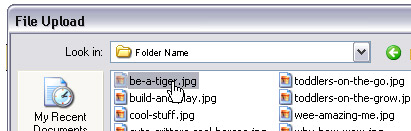
Step 6. Click the Images tab to upload a thumbnail for your new category.
Step 7. If your site was designed to use category thumbnails, upload a Thumb Nail image from your computer (NOT a Full Image). Some sites are designed to not diplay an image, but rather use a stylized button.
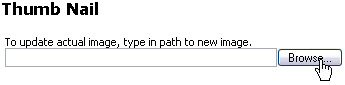
note: STN category images are by default sized at 101 x 68 pixels.
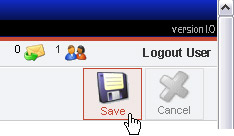
Step 6. Click “Save”
That’s it! You’ve just created a custom category.
To make Category Icons using FrameEZ:
Go to the help section about FrameEZ section, and click the subcategory “Making Category Icons with FrameEZ,” or click Make Category Icons with FrameEZ.