Introducing the new Lightspeed POS to Website Sync via the Product Database Hub!

The new Lightspeed sync component is integrated with the Product Database Hub to provide automated product inventory syncing and in-depth reporting. If you have already signed up to have STN activate the Lightspeed Sync component on your site, you can access the component by logging in to the backend of your site and going to Components >> Lightspeed (Point of Sale).
NOTE: Specialty Toys Network will complete your initial setup for you. Usually you will not need to change your Lightspeed settings once the sync has been set up. Please contact your project manager for assistance in setting up or changing your Lightspeed sync settings.
Authorize Account
On the Lightspeed Component page you will first need to Authorize the connection from your website to Lightspeed.
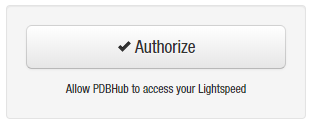
Clicking the Authorize button will open a Lightspeed login page in a new browser tab. You will need to sign in with your Lightspeed POS login information.
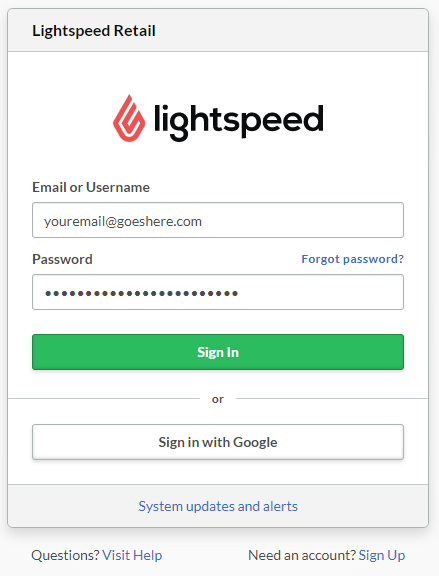
Once you are signed in, Lightspeed will ask your permission to authorize the PDBHub application to access your Lightspeed POS records. Click the Authorize Application button to confirm.

Authorizing the application will take you to a page which will contain your Access Token and Refresh Token. Click on the Access Token to copy it to your clipboard.
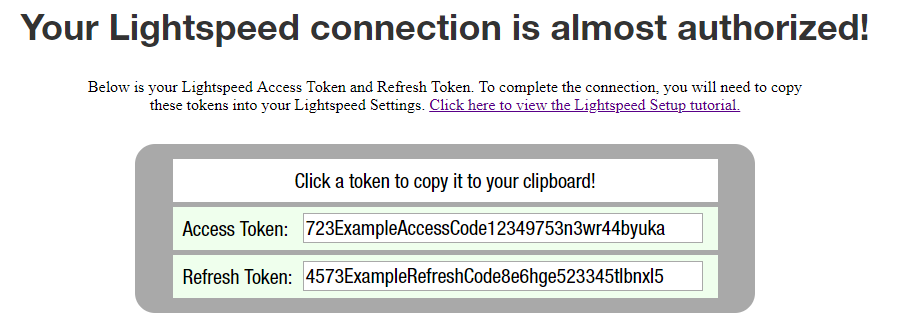
Without closing the Lightspeed Tokens tab, navigate to the previous tab, which should still have your website’s Lightspeed component page open.
![]()
From the Lightspeed component page, click on the Tokens button.
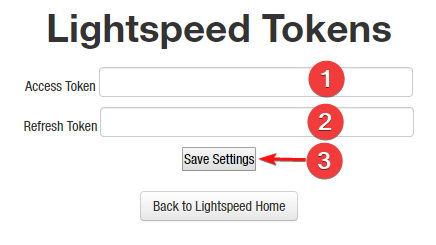
Paste the Access Token you copied into the corresponding box on the component’s Tokens page. Then go back to the Lightspeed Tokens page and do the same for the Refresh Token. Save Settings when both codes have been copied.
Saving changes will take you back to the Lightspeed component page. To confirm that the tokens have been correctly added, click the Authorize button. If the application is authorized successfully, you will get a notification with the name of the authorized Lightspeed account. If the authorization was unsuccessful, clicking the Authorize button will open the Lightspeed login page and begin this process again.
Data Updates
When you sign up with STN for access to the Lightspeed Sync component, you are able to specify how often your data is synced from your Lightspeed POS to your website. We typically recommend syncing about every 3 hours, so your site’s inventory is kept accurate with your store’s. If you need to change the time between syncs, please contact your administrator.
Management Tips
Verifying your sync functionality
As the system relies upon the selected product lookup fields matching between Lightspeed and Website, it is important that you use the website’s product editor to verify correct sync functionality. In Lightspeed, choose a product that is in your website store, and change it’s Price and Inventory Stock values to something new. Then run a manual sync event using the website’s “Run Manual Sync” button (in Components >> Lightspeed (Point of Sale)). Once the sync event is complete, the item in the website should have been updated to match price and In Stock values that you set in Lightspeed.
Checking for Out-of-Sync items
We recommend you regularly use the Modified Date column in your website’s product editor to check for products that are not in sync. An item with a modified date older than your latest inventory feed should be considered to be “out of sync”, and as such will not be getting your price or inventory updates. You can use “>0” for the Stock column filter, and “Y” for the Published column, then sort be date (descending) to quickly identify any items that are active on the website, but out-of-sync with your Lightspeed data. (If the Modified does not match your most recent sync event, that means the product on the website is not getting fed any data from Lightspeed)

Deleting items from Lightspeed?
When discontinuing items that have been in stock, you should run a sync event before removing said item from Lightspeed. In other words, if you have an item with 1 qty left, then delete that record from Lightspeed before running a sync event, your website will no longer be fed data for that item, and the item instance on your website will stay at 1 qty until a trigger event changes it.
The website inventory will only change for an item when:
– a web order is placed for the item
– you manually change the inventory level for an item
– you feed new qty data to the website
Adding New Items to the Website
The sync events only updates data for products that exist on your website. They do not create new items on the fly. You can add new web items using the Product Editor, via the STN Import Tool, and, if you have a lot of products you need added to your website, consider using our Product Matchup Service. We can typically match-up about 50% of any given toy store’s product data. Contact your Project Manager for further assistance.
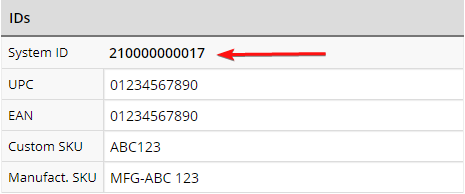
When creating new items via the Product Editor or the STN Import Tool, be sure to set the SKU field on the website to match the Lightspeed System ID for that product (unless you and your project manager have assigned a different field to be the unique identifier). This is the identifier used for syncing product information.