|
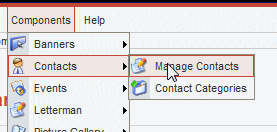
If your site has a “Contact Us” page, in most cases you will be using a special website component called ‘Contacts’ to manage this page. The ‘Contacts’ component will allow you to display one or more contacts to your visitors. You’ll need to enter in the information: address, phone number, etc. that you wish to display. Set up ContactsTo setup your contact page information, go to Components >> Contacts >> Manage Contacts. |
|
There should be at least one contact in the list. Click on the name of the contact to edit the details.
|
|
Go through the information and make any desired changes.
|
|
You can also use the “Availability” to set times that you are open/available.
For more information about setting your store’s hours and availability, check the Store Hours help page. |
|
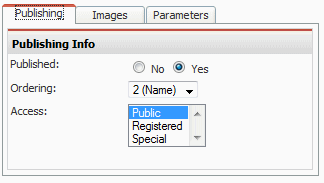
The tabs on the right side control the display options for the contact. Each contact you create can have its own display options. Publishing tabThe Publishing tab is for setting the published state, the ordering, and the Access options of this contact.
|
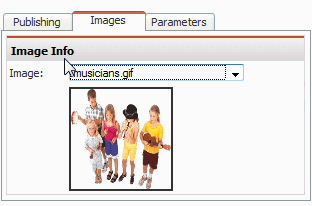
Images tabThe images tab is for choosing an image to display on the contact page. We usually put a store logo here.
|
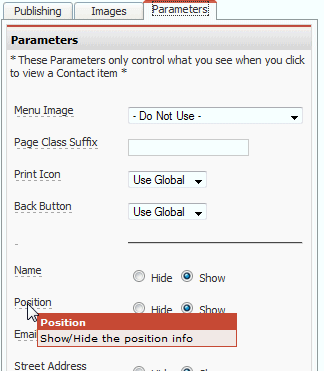
Parameters tab
The Parameters tab has a lot of options. Mouse over each option name to see a brief description of what each one does. |
SaveSAVING. After you make any changes, press the “Save” button at the top right to apply the changes.
|


