BEFORE YOU BEGIN:
Before you can create a Banner Ad, you will need to create the Banner Graphic Image to be used in your banner ad.
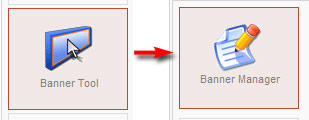
Step 1. Log in to your site’s back end, and go to the Banner Manager.Click on Banner Tool, then hit Banner Manager. |
Step 2. Click the “NEW” button in the Banner Manager |
|
Step 3. Name your new banner ad and set “Your Store” as the Client.
Banner Name: Banners are often set to sort alphabetically, so if you add a numeric prefix to your banner names (eg: “01 Holiday Toy Collection”), you can easily control their display order within the category. Client Name: Unless you’re selling banner space, select “Your Store” |
Step 4. Choose the category
Pick the category that matches your artwork. 180 pixels for a banner image that goes in the right or left column, and wide ones for the header position you may have, or to go at the bottom of a page. Tip: Creating Banners for your Mobile Homepage sliding display? Select the category called “Mobile Homepage Banner” |
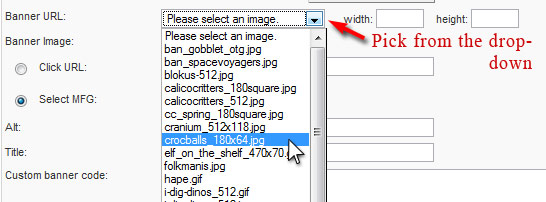
Step 5. Upload a new image, or pick an existing image for the banner from the drop-down menu.
If you haven’t already uploaded your banner image, you can upload your image by clicking the “Upload/Browse For Image” button. This button will also allow you to browse your Banners folder for existing images.
The selector drop-menu shows all the images already uploaded to your Banners folder in the Media Manager.
|
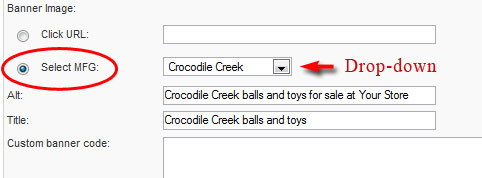
Step 6. Tell the system where to take visitors when they click the banner ad
|
|
Step 7. Add ALT text to descriobe your bannerThis is an important step for SEO & accessability Step 8. Optional: Set Date parametersYou can use the Date tab to set Start and End dates, or set you banner to display only on certain days of each week. |


