How to create a new Sub-Category
Step 1. In your site’s Admin back end, go to “Shopping Cart” and click “Category Tree”


Step 2. In the upper right row of icons, click “New”

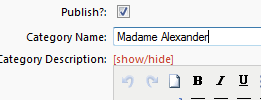
Step 3. First, name the subcategory. In this case we’re refining the Dolls and Accessories category by adding a subcategory for our Madame Alexander line.

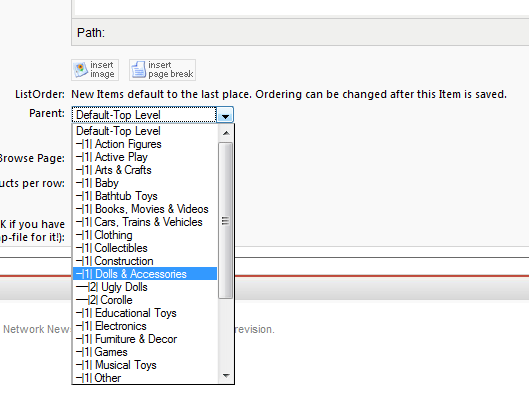
Step 4. Choose a Parent Category (the box at the bottom of the page).
Click the arrow next to Parent, and choose the category this one is part of.
I 
Step 5. Save.

Now, you can put new product into the subcategory, or reassign older products from the main category. Products can be in both, if you like.
Category Icons
Category icons are created and assigned in the same way as top-level categories .
Many people use a toy from the subcategory as the icon. The easiest way to get one is to go to the front end of your site and Right click on the product thumbnail image, and save it to your hard drive.
To make Category Icons using FrameEZ:
Go to the help section about FrameEZ section, and click the subcategory “Making Category Icons with FrameEZ,” or click Make Category Icons with FrameEZ.
