PLEASE NOTE: If you are ALREADY USING FrameEZ, follow the instructions below. Otherwise, please refer to the help page on making your own banner graphics, as FrameEZ is discontinued.
|
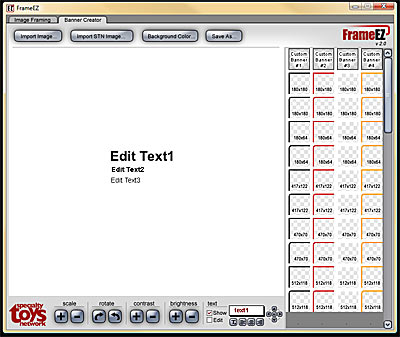
To make a new banner Click the Banner Creator tab at the top of the FrameEZ window. This will take you to the Banner Creator component, where you can make graphics, add text, and make them into preset banner sizes.
|
|
|
|
|
|
Setting a background image or color Choose one of the three buttons at the top, depending on whether you want to use an image of your own, one that comes with FrameEZ, or just pick a color. Import Image… Allows you to use an image from your local hard drive Import STN Image… Lets you load one of the pre-made banner backgrounds that come with FrameEZ Background Color… Sets a subtle gradient as the background color. A new color will delete any image you’ve already set.
|
|
|
|
|
|
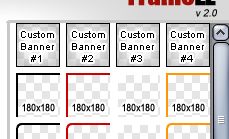
To choose a new frame for your banner Click the different corner thumbnails on the right to change the frame style. The numbers refer to the pixel size of the frame, and correspond to the standard STN banner sizes. If you’ve had custom banner shapes or styles made, they’ll appear as one of the Custom Banners in the first row.
Advanced users can most likely figure out how to make their own banner frames to go in these slots, but would probably elect to use Photoshop instead. |
|
|
|
|
|
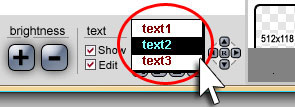
To select a line of text To select a line of text to edit, click the box that says “text 1.” The box will expand, showing all three available lines: text1, text2, or text3.
Choose one to make it the selected line. You can move it, reset it, change the font, justify it left, right or center, and change what it says. |
|
|
|
|
|
To Edit a Text Line
Choose it. Check the box next to ‘Edit.’ This will highlight the line of text, and you can start typing. Sometimes you may have to click in the text after checking the box. Uncheck the box when you’ve finished typing. |
|
|
|
|
|
To turn a line of text OFF
Choose it and uncheck the box next to ‘Show.’ You can always turn it back on the same way. If you want only the medium text line, choose text1, uncheck ‘Show,’ choose text3, uncheck ‘Show,’ choose text2. |
|
|
|
|
|
To move text Click the litte arrows at the bottom right to move your selected text line. Hitting the tiny R in the middle will “Reset” the text to the top left of whatever banner size you have selected at the time.
You cannot grab and drag a line of text. If you try, you’ll actually be moving the background. |
|
|
|
|
|
To Justify your line of text
Use the three icons under the selected text box. |
|
|
|
|
|
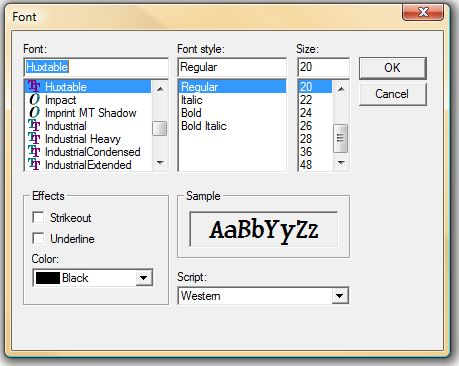
To change the font, size and color of your text lines Click the T button to bring up the Font window. Here, you can choose any font that’s installed on your computer, change the size, italicise it, make it bold or change its color. A preview of what your changes will look like is in the “Sample” box.
You can download lots of free fonts from |
|
|
|
|
|
Save your banners
Try out frame styles, play with different images, mess around with the fonts and the sizes. When you have something you like, click the “Save As…” button up top.
|
|
|
|
|
|
Upload your new banner Go to your site’s Administration back end, and click on “Media” to open the Media Manager. In the Banners folder, click the Browse button to choose the new file on your computer. Click “Open,” and Then when you go to set up the banner in the Banner Manager, you’ll ba able to choose that new graphic! |


