PLEASE NOTE: If you are ALREADY USING FrameEZ, follow the instructions below. Otherwise, please refer to the help page on making your own banner graphics, as FrameEZ is discontinued.
How to use FrameEZ
Getting Started:
Launch FrameEZ by double clicking “FrameEZ.exe” on your desktop, or through your Windows Start menu.

Loading Images:
To load an image into FrameEZ for editing, click the “Import Image…” button and navigate in Windows to the image that you want to use.
Working in FrameEZ
Positioning
Once the image is loaded, you can position it by clicking and dragging. You’ll see your cursor change from an arrow to a hand. Grab the image and drag it where you want!
Frames
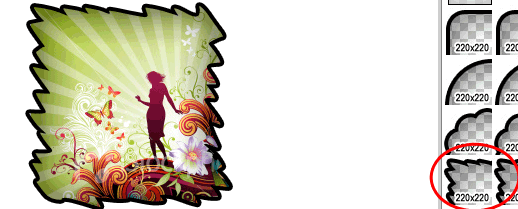
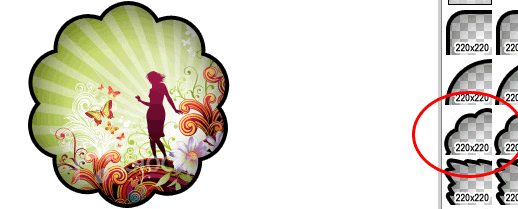
Clicking on a frame at the right of the stage will change the frame being used with the image.


Image Editing Tools:

Scale: The “+” button will scale the image up and the “-“ button will scale the image down.
Rotate: These two buttons rotate the image to the left or right.
Contrast: These buttons will increase and decrease the contrast. The image starts at 100%.
Brightness: These buttons will increase and decrease the brightness of the image.
Save As…: This will save your edited image as web-friendly JPG file.
Name the image and press save. Use a clear name, all lowercase, with no spaces or special characters (.,!#%$@&”‘\|/).
You can now upload it to the server. The Media Manager in the “Admin” section of your site is probably the easiest way.
